HTML and CSS Part 1
1. Making Images Clickable
Sometimes it can be helpful for your page visitors to view images in a larger window. This can be done by adding a <a href="" tag around the image. This is also useful if you want an image to link to another website or page in your own website.
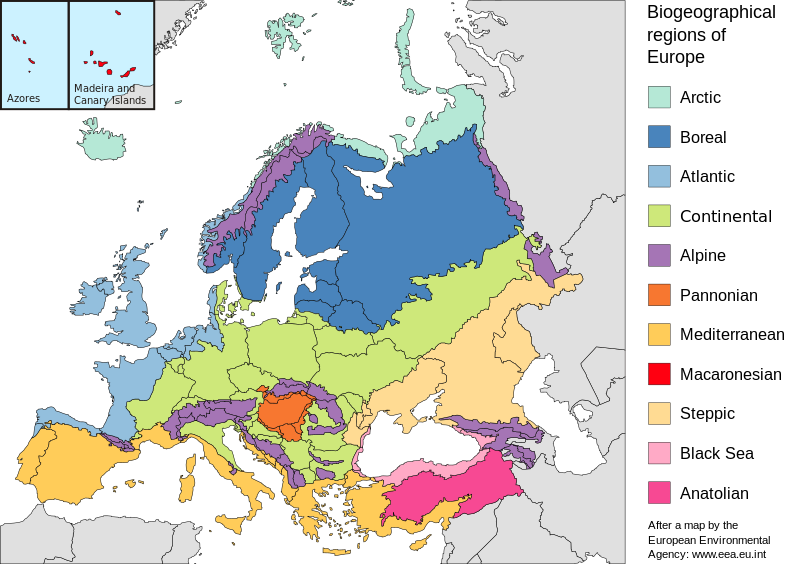
Here is an example of an image from Wikipedia that is now clickable
Ths code for this is:
<a href="https://upload.wikimedia.org/wikipedia/commons/thumb/6/66/Europe_biogeography_countries_en.svg/800px-Europe_biogeography_countries_en.svg.png" title="View Image Source">


<img  src="https://upload.wikimedia.org/wikipedia/commons/thumb/6/66/Europe_biogeography_countries_en.svg/800px-Europe_biogeography_countries_en.svg.png" alt="image of biogeography of Europe">


</a>
Look at the above lines of code carefully. Notice the order in which the tags are placed:
- We open the familiar link tag:
<a href=""and include the URL of the image source. Notice also that we can add atitle=attribute to the tag. The title attribute specifies text that appears over the image when the user hovers their mouse on the image. - Next, we have the familiar image tag:
<img src="". You will notice that in this case the URL to the image is the same as in the href tag. - Finally, we must close the
</a>tag.
2. Changing the size and position of images.
2.1: Changing the display size of images.
Sometimes we might want our image to occupy less space on the page. This can be done by adding a style attribute to the tag.
Here is an example of a simple style attribute added to the image tag that specifies the image to occupy only 70% of the width of the page content area: style="width:70%; .
In the example above, the word width is known as a style property, and the number 70% is known as the value. Notice that the property and the value are separated by a colon (:)
The Mozilla Developer Network provides a full reference for all possible style properties. But you don't need to worry about learning them all! Just a few are useful for our purposes.
We can add other properties and values to our style entry. For example: style="width:70%; border:1px solid green; . Adding the 'border' property specifies a border around the image. In this example, the border property is followed by 3 values: 1px solid green . This means the border will be a solid green line, one pixel thick.
Notice that to add a new property to the style, we need to put a semi-colon after the previous property:value pair.
So the full code for our image tag would now look like this:
<img style="width:70%; border:1px solid green;" src="https://upload.wikimedia.org/wikipedia/commons/3/39/Europe_biogeography_countries.svg" alt="image of biogeography of Europe" >
And the result is this:
2.2: Centering an image on the page.
This time, the image is centred.
To centre the image, it's necessary to make a small calculation. In our example, this is as follows:
page content width = 100%
image width = 70%
∴ remaining content width = 30%
So, to centre the image we need to divide the remaining content width (30%) so that it is equal on both sides of the image:
We know that 30% ÷ 2 = 15%
So we now know we need a space of 15% to the left and 15% to the right of the image.
Numerically, it looks like this:
left-hand margin width = 15%;
image width = 70%
right-hand margin width = 15%
In our image, we specified the width to be 70%. This means the image uses 70% of the 100% content area available. By default, the image is positioned to the left of the content area. This means that to right of the image, 30% of the page width is blank. So, to centre the image, we need to put a space of 15% to the left of the image.
To do this, we use a style property known as margin-left with a value of 15% (half of the blank space).
The margin-left property specifies a distance of x between the left-hand edge of the image and the left-hand edge of the content area - just like a margin on a paper page.
So, here is the modified image style code:
<img style="width:70%; border:1px solid green; margin-left:15%;" src="https://upload.wikimedia.org/wikipedia/commons/3/39/Europe_biogeography_countries.svg" alt="image of biogeography of Europe" >
Note: in the above example we don't need to specify a margin-right:15% because this is automatically computed by the browser. The browser computes the specified values of 15% + 70% = 85%, and then assigns the remaining 15% to the right-hand margin.
Understanding the way the page width can be divided in this way enables us to position objects on our pages, including blocks of text.
3. Formating Text with CSS
A very useful application of CSS is text formatting.
For example, in a language learning website, we might need to set certain classes of words to different colours in order to hightlight textual features for our learners. The following example shows a paragraph with the nouns highlighted in green and the adjectives in purple:
Ode to Autumn, by John Keats
SEASON of mists and mellow fruitfulness!
Close bosom-friend of the maturing sun;
Conspiring with him how to load and bless
With fruit the vines that round the thatch-eaves run;
To format words and phrases within a paragraph, you can use the familiar <strong> and <em> tags. However, if you want to apply other styles, such as colours, then we use the <span style=""> tag. The span tag combined with style property will modify whatever the tag surroungs. So in the example above, to set the word 'SEASON' to green, the tag looks like this: <span style="color:#00cc00;"> SEASON </span> .
